We almost never get snow here in the south of France; it’s more like a coldish winter than a white Christmas, so I admit I tend to go a little crazy with the decorations to get us in the Christmas spirit. And some of the decorations that do that the best are window clings!
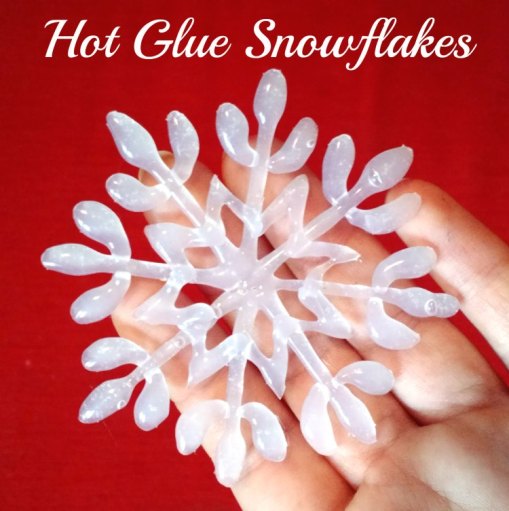
These little glue snowflakes are very cheap and easy to make, ideal for craft time with kids and perfect as Christmas decorations for rentals, since they don’t stain the windows. Plus, they can be made into any kind of shape you can imagine, so what more can you ask for?
You’ll need:
- Hot glue gun
- Glue sticks
- Parchment paper (Don’t get wax paper or they’ll stick, it’s very important! Thanks to my lovely readers for pointing that out). 🙂
- Snowflake templates (optional)
- Glitter and craft glue (optional)
Instructions:
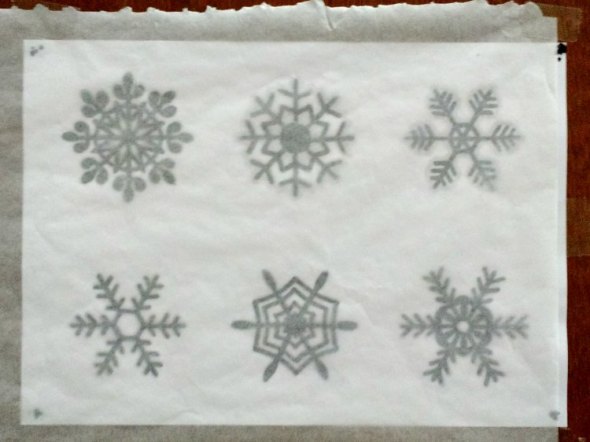
1. Print your snowflakes template (I downloaded one from Google images, which you can download here in pdf) or draw them by hand on a piece of paper using a dark marker.

2. Lay the wax paper over the template. Since it’s slightly transparent, you should be able to see the pattern through the parchment paper quite easily.
Tip: Securing the corners of the parchment sheet to the template with some tape will make sure that they won’t move while making the shapes and will make everything easier!
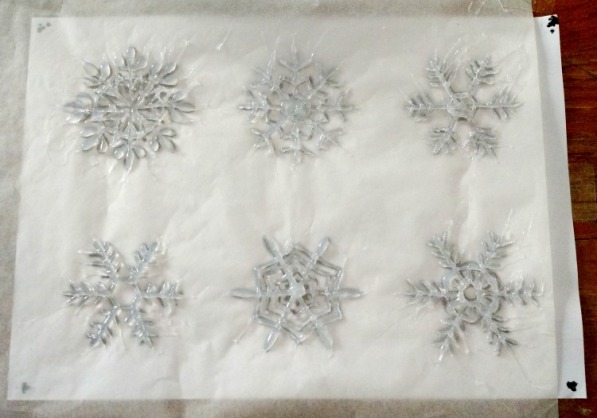
3. Start tracing the snowflakes with the hot glue. Make sure to make the glue lines thick and fat, since the shape won’t hold well if they’re too thin.
If you’re better at using hot glue than I am, you’ll get perfect shapes from the beginning. As it turns out, I don’t know how to finish the glue lines properly, so I got a lot of thin strings of glue everywhere – but that’s ok, since you can simply trim them out with scissors and the snowflakes will be as perfect as if you’d make them like that on the first try (and who has to know?!)
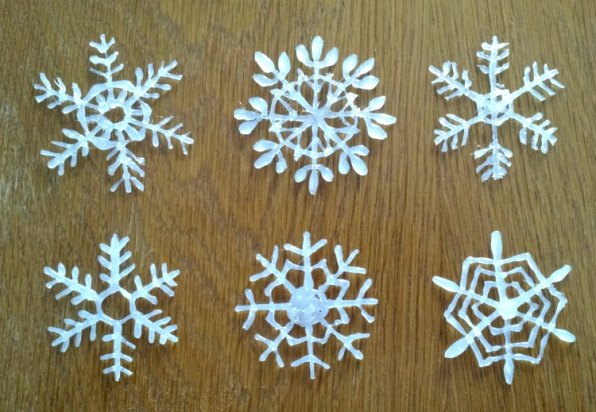
4. Let them dry for a few minutes until the glue is cold, and then you can peel them off the parchment paper. They should come right off without any residues at all, so you will be able to reuse the parchment sheet as many times as you like. Handy, right?

5. If you want to add glitter, now it’s the time. Cover them in normal craft glue, then in glitter in the colour of your choice, let them dry, and shake them a little to get rid of the excess glitter. Ta-da!
6. Finally, you can glue them to the window with a couple of dots of hot glue on the extremes, or glue them to transparent nylon thread and hang them, as I did. Or you could even glue a little ribbon on top of the snowflakes and hang them on your Christmas tree. The sky is the limit!
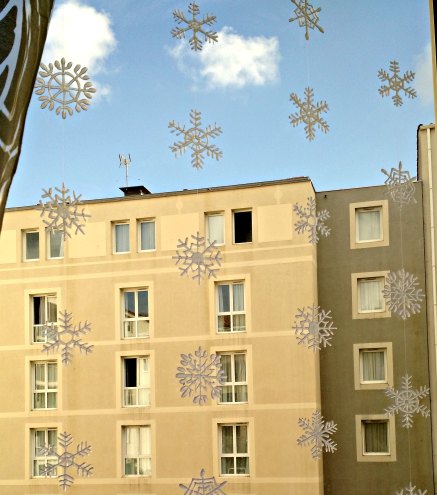
I don’t have pictures at night because they don’t photograph great, but they look wonderful against the dark background, almost like real snowflakes. Magical!

These hot glue Snowflakes are really look WONDERFUL! Great Idea! Thanks for it!
LikeLike
We tried this but ours stuck to the paper. It is was paper but my glue gun is high temp. I wonder if that makes a difference!? So cute anyway!
LikeLike
Well my glue gun only has one temp and mine stuck to the wax paper too, I tried hot water but only some came off but I worked with it and got what I could, now what to do about trying it again without it sticking, I’m thinking some type of oil spray or something, I don’t know if it will work but I’m going to try it
LikeLike
It has to be parchment paper
LikeLike
I have a dual temp glue gun and my first tries I used the high temp and they stuck to the paper. The next try I used the low temp and also sprayed the wax paper with cooking spray. This works really well
LikeLike
[…] Handmade snowflakes is a good way to brighten your home windows for the winter season. These snowflakes are tremendous simple to make with glue weapons. As soon as they dry, peel them off the wax paper and stick them to the home windows, or cowl them in glitter and hold them on the tree. Tutorial: Little Craft Corner. […]
LikeLike
[…] Las decoraciones de las ventanas, como los copos de nieve, a veces pueden ser injustamente caras, por lo que hacer la suya es una gran idea. Estos se hacen mediante el trazado de las formas en papel de cera con pegamento caliente, que luego se endurece y se pone blanco. Son resistentes, reutilizables y desordenados si los instala usando pegamento o cinta adhesiva de doble cara. vía littlecraftcorner […]
LikeLike
[…] Handmade snowflakes is a great way to decorate your windows for the winter season. These snowflakes are super easy to make with glue guns. Once they dry, peel them off the wax paper and stick them to the windows, or cover them in glitter and hang them on the tree. Tutorial: Little Craft Corner. […]
LikeLike
I don’t know what I did wrong but I got all my supplies around and followed your directions but for some reason my snowflake would not peel off the wax paper. I had to peel the paper off piece by piece. Do you have any suggestions of what I can do to solve my problem
LikeLike
[…] [Read more] […]
LikeLike
[…] Window decorations like snowflakes can sometimes be unfairly expensive, so making your own is a great idea. These ones are made by tracing the shapes on wax paper with hot glue, which then hardens and turns white. They are resistant, reusable and mess free if you install them using glue sticks or double sided tape. via littlecraftcorner […]
LikeLike
Mine stuck to the wax paper too and then it occurred to me that wax paper melts (because its wax!) I tried again with parchment paper and they came off clean and lovely!
USE PARCHMENT!
LikeLike
Thanks so much for your comment, Colleen – you just made me realize something important! In France we only have one kind of oven paper and I thought wax paper and parchment paper were the same thing! I’m amending the instructions right away.
LikeLike