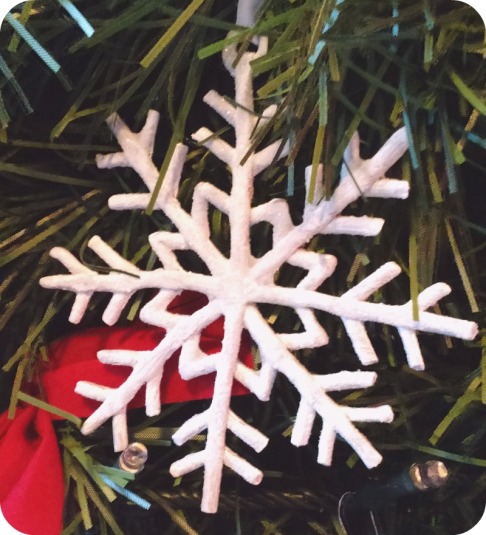
Get ready to add some whimsy and lots of glitter to your Christmas tree! Making snowflake ornaments demands a little patience and a firm hand when making the shapes, but these are so incredibly fluffy-looking, shiny and gorgeous that they’re definitely worth all the time spent.
You’ll need:
- White polymer clay (or any other color that you can paint white)
- If your clay is not white, white acrylic paint
- Craft glue
- White and/or iridescent glitter
Instructions:
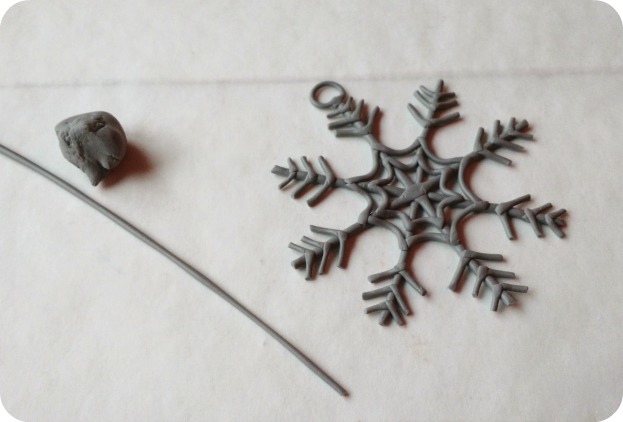
1. Start by preparing a sheet of parchment paper for assembling the snowflake and baking it later. You can either make up the shape as you go, or you can draw the shape on the paper with a pencil beforehand.
2. Warm the polymer clay by kneading it a bit with your hands. When it’s elastic enough, form thin rolls and cut them to the desired length, beginning with the center axes and ending with the little details.
Tip: Don’t hesitate to press down a little the different rolls so they stick properly between them. Any imperfections or weird shapes will be hidden by the glue and glitter.
3. Follow the instructions written on the box of your clay to bake it. Bear in mind, however, that the snowflake shape is quite thin, and therefore may need less time in the oven than stated. Check often and take it out inmediately if it starts browning or anything else unusual.
Tip: If it’s the first time you’re using polymer clay, DO NOT attempt to go faster by setting a higher temperature – the clay will probably brown, change shape and boil, making ugly bubbles and weakening the shape in the end.
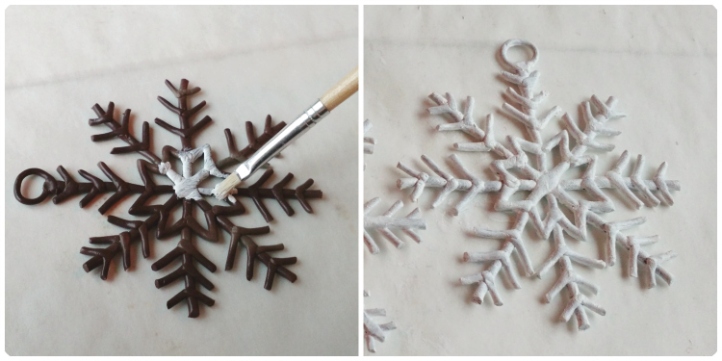
4. If you’ve used colored clay, now it’s the time to paint it white. I usually apply two layers, letting the object dry in between them. Since it’s going to be covered in glitter, however, it’s ok if it’s not absolutely perfect.
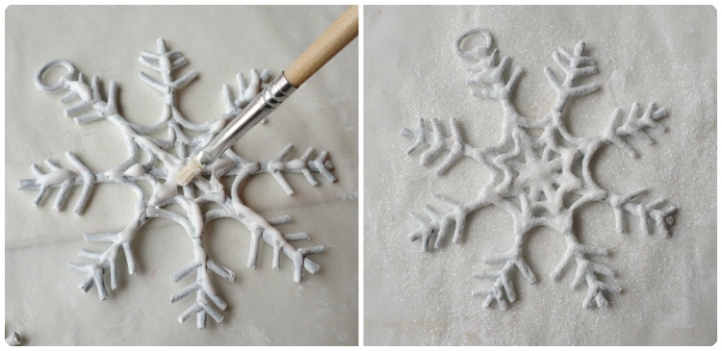
5. Now put some white or transparent craft glue on one side of the snowflake and spread it all over with a brush, taking care of covering all the angles. Then, before the glue dries, pour the glitter over it. You can use either white glitter, iridescent glitter, or a combination of both for a light-catching effect.
This is the time to let your sixteen-year-old out and go crazy with the glitter, and I mean it! The more you pour over, the better coverage you’ll get in the end. And you can always recover the fallen glitter later (for this, I do the whole operation on a parchment sheet so I can put the leftover glitter back in the bottle easily.)
6. Let the glittered side dry on the table and then repeat the operation with the second side. Let the second side dry a little and then shake it carefully on the table so you can get rid of the excess glitter. Now add a white ribbon on top and hang it somewhere where it can dry completely before hanging it on your tree – I usually leave it overnight and it’s completely dry in the morning.
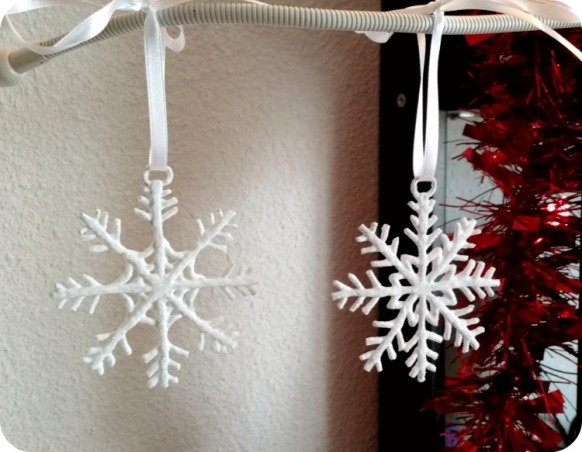
And now you can admire your snowflakes in all their glittering glory and squeal like a little girl! (This last part is optional.)

Reblogged this on Sunshine Craving and commented:
Hey there!
Got some time kill this Christmas Eve? How about trying some of these! They’re super cute and sooo adorable, when I saw them on Little Craft Corner I knew I had to share them with you guys! Be aware though, they do take some time, but by the looks of things, they turn out beautifully!
Enjoy the sunshine x
LikeLike